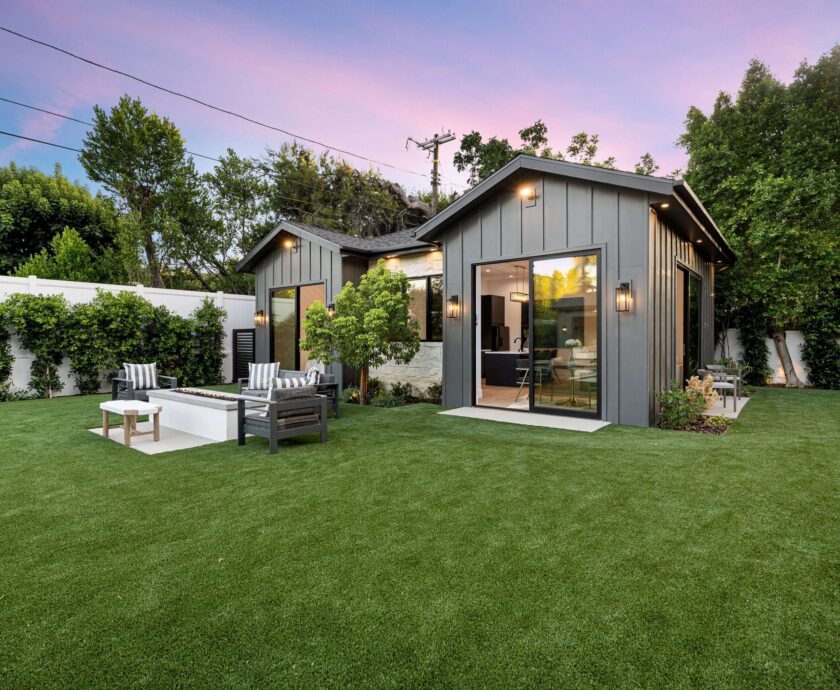
ADU
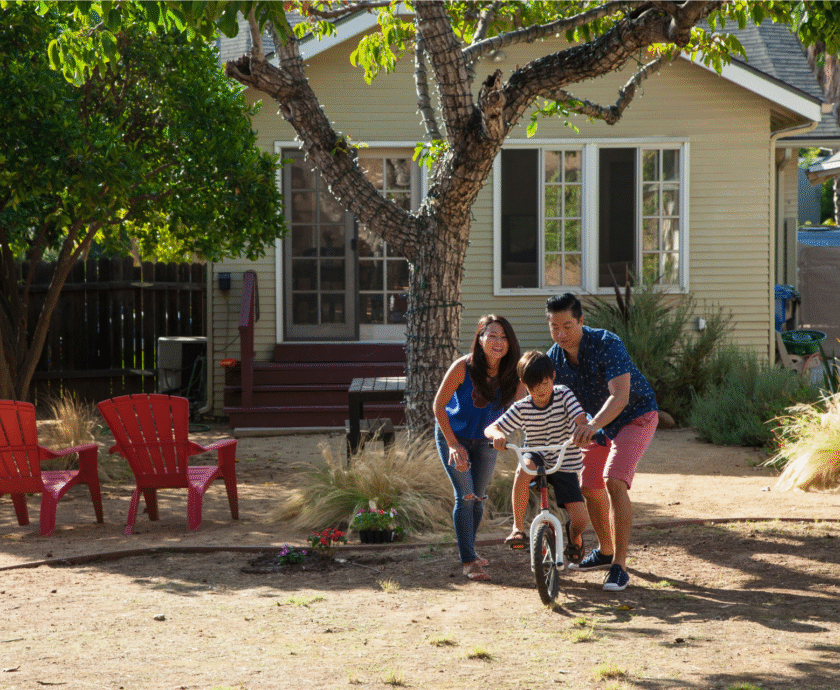
Building an ADU, or accessory dwelling unit, is a great way to generate rental income, provide housing for relatives and friends, and increase your home’s value. According to the American Association of Retired Persons (AARP), ADUs are also becoming increasingly popular as affordable, flexible housing options for older adults and young families. Learn more in AARP’s ADU guide.
You may know the many advantages of building an ADU, but that doesn’t mean you completely understand the ADU construction process. If you’re about to build an accessory dwelling unit in Massachusetts, here’s what you can expect from start to finish:
Step 1: Perform Research
Every construction process should start with research, as it’s a great way to learn what you can and can’t do. Building an ADU is no different. Start by checking the local zoning rules since each Massachusetts town interprets the laws, rules, and regulations slightly differently.
Pay particular attention to the information surrounding:
- Lot size
- Septic/sewer capacities
- Parking requirements
It’s during your initial research phase that you should also consider the type of ADU you would like to build on your property, such as a detached backyard cottage, an attached addition, or an interior conversion, such as a basement or garage.
Don’t be afraid to contact a trusted ADU design-build company in Massachusetts during your planning phase. The most reputable ADU businesses handle everything from zoning and feasibility to design, permits, construction, and the final walkthrough.
Step 2: Do a Site Survey
You know that an ADU on your property is feasible, but that doesn’t mean you know whether it’s actually possible to build on your land. Before designs and permits, you must complete a professional land survey of your property.
This is when the initial layout and floor plans are created and when your utilities are evaluated, including water, electrical, and sewer. A range of other key decisions are also made, including:
- Your preferred ADU size – the general Massachusetts rule is up to 900 sq feet or half the gross floor area of the main dwelling, whichever is smaller
- The ADU’s layout and functionality
- Your budget
Step 3: Start Design and Planning
All the logistical ducks are in a row, and it’s now time to start designing and planning your new accessory dwelling unit in Massachusetts! The good news is that you don’t need to try to navigate this process on your own. When you work with an ADU design-build team, their architects and designers will help you finalize floor plans, elevations, and construction drawings. Once these are complete, they are handed over to the construction team to bring them to life.
During the design and planning stage, you’ll also need to refine your budget and, if applicable, take care of your financing.
Step 4: Submit Permits and Wait for Approvals
Before construction can begin, your local building department may need to review your plans. Approvals are often required for building permits and zoning. Fortunately, the most recent ADU laws in Massachusetts have streamlined the approval process!
Step 5: Take Care of All Pre-Construction Administration
You’re nearly ready to break ground! But before that can happen, there are a few odds and ends you and your ADU team need to tidy up. You’ll need to confirm the timeline, payment schedule, materials, and finishes, which essentially finalizes the construction contract. Double-check that all permits are active and accessible.
Step 6: Time to Build!
It’s time for construction to get underway. For the next several months, your ADU construction team will be:
- Preparing the site and foundation
- Installing the framing
- Putting on the roofing and exterior components
- Taking care of plumbing, electrical, and HVAC
- Installing insulation and drywall
- Applying the interior finishes, including the kitchen, bathroom, and flooring
You’ll be kept in the loop throughout this process!
Step 7: Perform Inspections and Receive Final Approval
You’re one step closer to taking ownership of your brand-new ADU. After the ADU construction process is complete, the final building inspection will be completed to ensure the ADU is compliant with the building code and approved plans. Inspectors will verify that your ADU matches the submitted plans and meets all safety standards.
Once approved, you’ll receive your certificate of occupancy and be able to move in or get your ADU ready for your new tenants, friends, or family.
How Long Does It Take to Build An ADU?
You now know that building an ADU in Massachusetts is a multi-step process, but how long does it actually take? A typical ADU project normally takes around 6-9 months from start to finish. Of course, the timeframe can vary depending on factors such as permitting timelines and the scope of your accessory dwelling unit.
As a general rule, the initial consultation and feasibility review takes around 2-4 weeks, while design and architectural plans take 4-8 weeks. Once those are ready, they are submitted to your local municipality for review and permitting, which often takes around 6-8 weeks.
Once all the planning is complete, your ADU design-build team will spend the next 4-6 months bringing your new accessory dwelling unit to life!
Are you ready to start building an ADU in Massachusetts? It can be a straightforward multi-step process when you’ve got the right team on your side. Whether you’re ready to go full steam ahead or have questions about building an ADU, talk to the experts at Republic Building Contractors in Middleton, MA. Schedule your free, no-obligation consultation today and learn what’s possible!